Hello! And welcome back to our 2nd challenge to Splashy Mix Challenges! I'm Jeanie Ellis, also known as Scrapbookingmamw! Below is our very lovely and romantic moodboard for this month's challenge. Plus, some great prizes to be given away!
One DT favourite will receive Goodie bag from Letzcraft Store and will be our Guest Designer the following month
1 Random Winner (chosen by Random.org)
One Random winner from Indian Participants will get a goodie bag from Creative Minds
Now on to my project for this month's challenge. I made a process video so you could see how I made my project I titled "Key to My Heart". I know that it's past Valentine's Day, but we still call it the Love Month, right? Here it is:
Here's a summary of the process, step by step:
Step 1: Prepare surfaces by adding Gesso.
Step 2: Brush on your base coat (I used FolkArt Metallic Garnet Red)
Step 3: Begin adding layers. I used different types of pastes and metallic acrylic paint by Prima Art Alchemy. (Listed in video)
Step 4: Stencil, using Textured Paste. Use heat gun to dry
Step 5: I started using various mist sprays to add color, drying in between coats
Step 6: Add glitter paste in various areas
Step 7: I then took my lace heart and used the same base color as the key
Step 8: While the heart finished drying, I then took my "LOVE" and painted it a purple base coat (a little later you'll see I also painted around the edge, which can be done in this step too).
Step 9: Back to the heart- I added different layers of embossing powders, ending with a holographic powder to give it more shine and depth.
Step 10: I then took my "XOXO" and pressed it into my VersaMark and sprinkled gold embossing powder on top of it.
Step 11: I added clear embossing powder onto my heart. The reason I do these in the order I did, is to give each piece a little extra "setting time".
Step 12: I took my LOVE and added red geranium and then holographic embossing powders. With the last layer of embossing powder, and while still warm, I sprinkled mountain ice glitter and pressed lightly
Step 13: I wasn't happy with the key, so I went back to it and added more embossing powders and glitter paste. I took a DecoColor paint pen (gold) around the side of the key and heart, plus on the top edge of the key.
Step 14: Glue it all together, and it's done!
Here are photos of the finished project:
Thanks for stopping in! I hope that this will give you inspiration to try something and join in on the challenge!
Welcome back to our second Splashy Mix Challenge. Judy here, with my interpretation of our mood board for February.
If you want to express your love for someone or something, then it's time to participate in our new challenge! We present you our Mood board. Here is my project, an altered wooden canister that I made for my husband's Valentine 's chocolates.
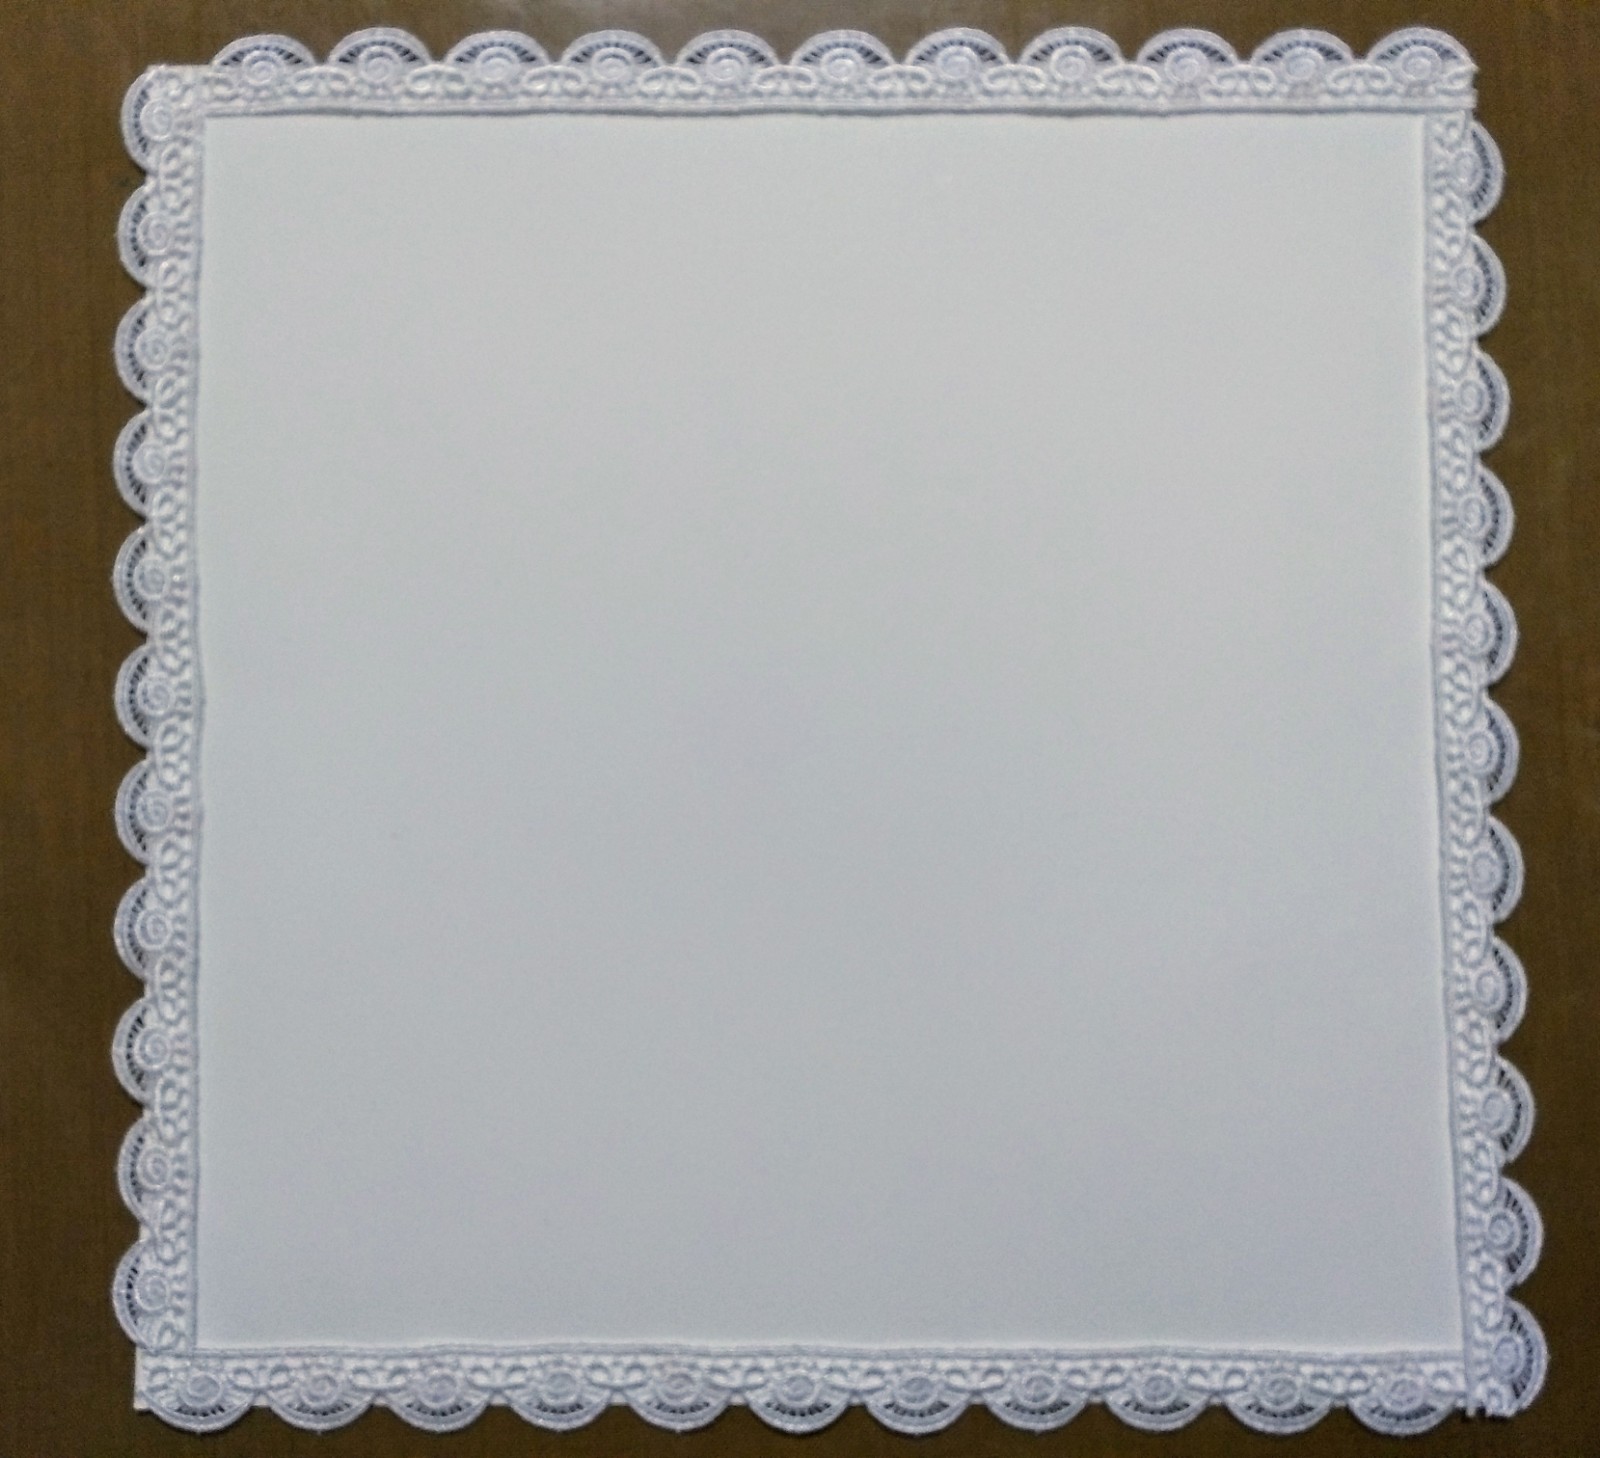
This is what my box looked like before I altered it.
I sanded my box then removed the handle and painted the box with gesso.
I then stamped the box with an French love poem.
To complete my project I stenciled my box with hanging hearts and stars and coloured it using acrylic paint, glitter glue and ink sprays, added my gems, several hearts, an Eiffel Tower to two sides. To the top of the canister I added a flower and a glass knob. Remember our challenge rules.
- Your work must be new, not previously published anywhere - You can create any mixed media project corresponding to the mood board and the colors presented in the mood board are also accepted. - You can enter up to 3 entries. - The post should contain a banner, a link to our challenge and the name of the blog. - Last date to submit your works 25th February until 23:55 !
One DT favourite will receive Goodie bag fromLetzcraft Storeand will be our Guest Designer the following month
1 Random Winner (chosen by Random.org)
One Random winner from Indian Participants will get a goodie bag from Creative Minds
Remember my favorite quote by Maya Angelou "You can't use up creativity. The more you use, the more you have." Hope you will join in the fun here at Splashy Mix Challenges.
Being Loved is a feel which we get while crafting. All crafters go one step ahead by spreading their love by sharing their wonderful artworks.
On this we thank all the crafter community for making this world more beautiful.
Today we Apexa Nagar as guest designer at blog. She is one among the winner of our January month challenge.
Over to her
Hey friends!!! Wishing u a very happy Valentine's day.....
Today on this special day I dedicate this post to a lovely Splasymix challenge blog as a Guest Designer
For me everyday is a Valentine'sday as I love gifting my loved ones everytime I feel gifting....
And here is a chocolate box I altered to gift on this special day....
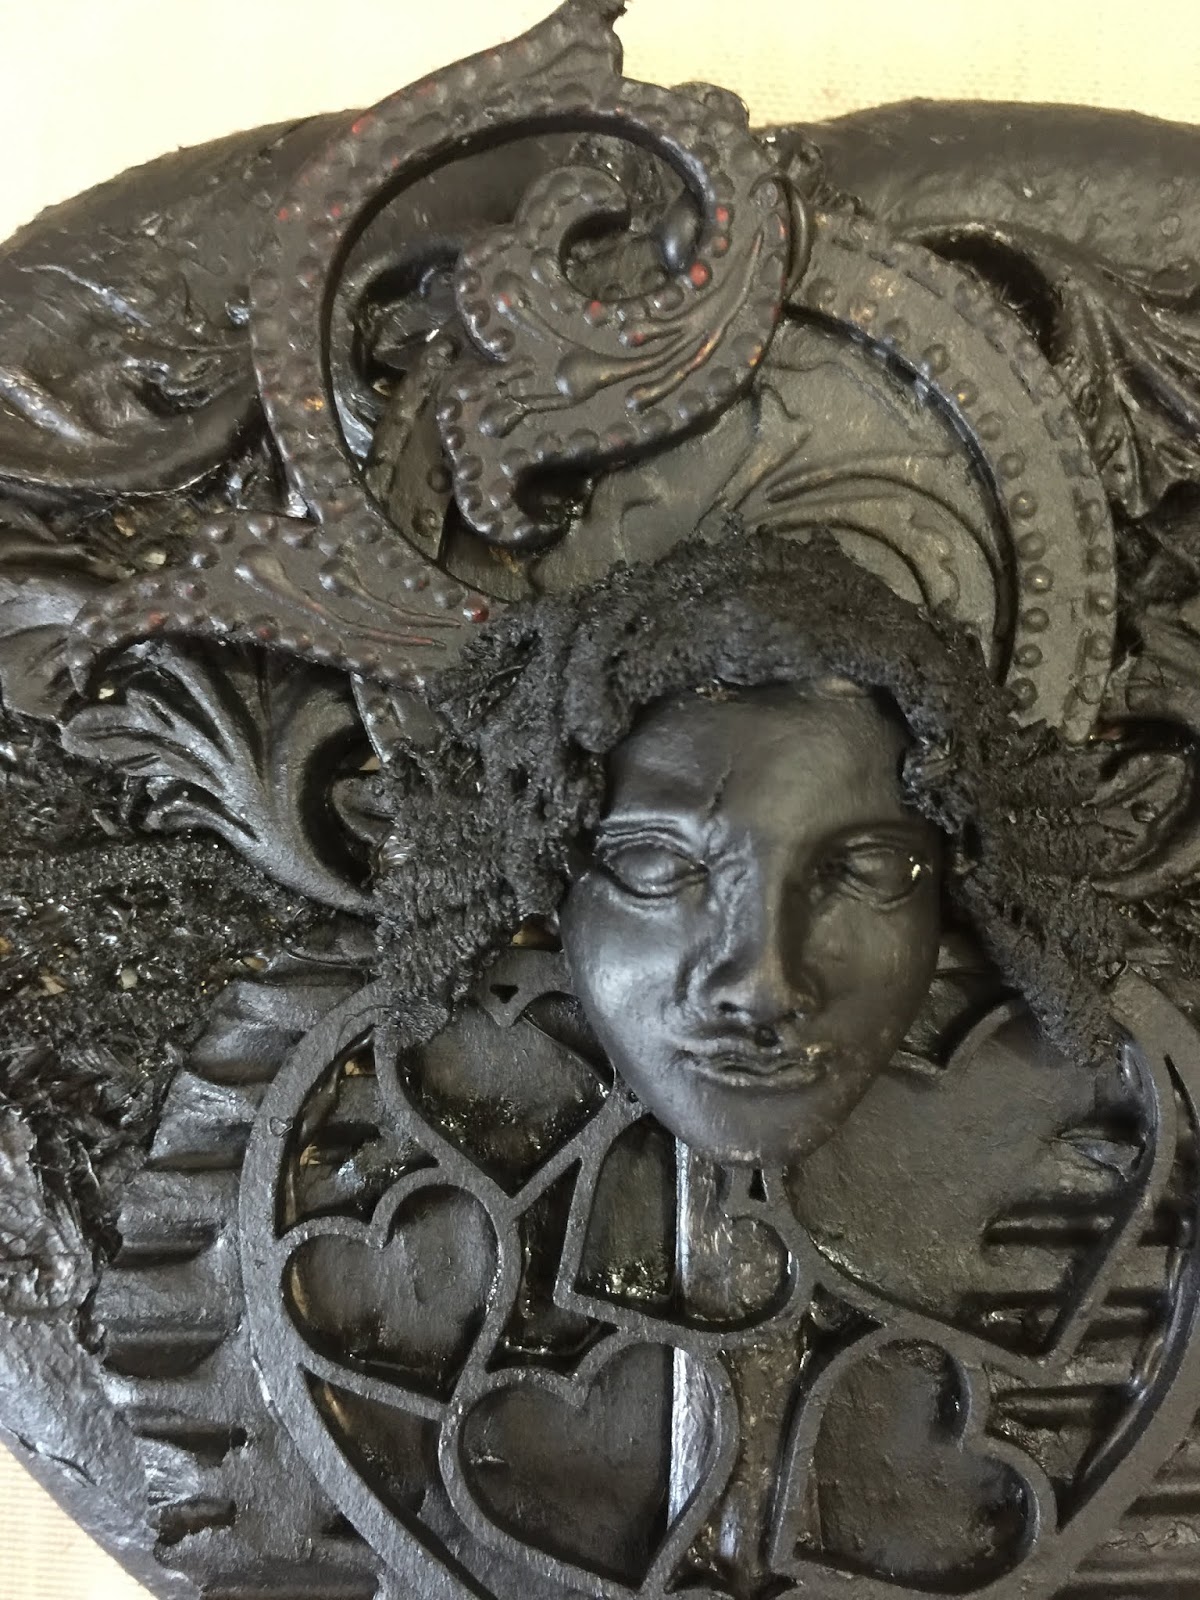
"Being deeply loved by someone gives you strength, while loving someone deeply gives you courage.."👏👏👏well said.... but love is not only something you feel....it is something you do... so celebrate this Valentine day by gifting your loved ones in such unique pack of chocolates.....here is a heart shaped chocolate box I altered as a "Fabulous Darling.... "
To create this box I assemble all the elements like jute cloth, corrugated sheet, a broken spoon handle? Few emblishments took out from the moulds, mask, ribbons, beads etc.
I painted everything with black gesso
Started painting with crimson and terquiesh blues as shown with a little dry brush technique.
Further highlighted with white gesso and golden paints.
Here are few more glimpses of heart shaped chocolate box I altered.... hope you all like it!!!
feel the love, do something for your loved ones!!!! Happy Crafting!!!!
Hi everyone
Priya Satish this side saying big hello to all. Tomorrow is Valentine's Day and here's a mixed media layout to inspire you. I was inspired by the romantic theme and colours from the moodboard. I have a detailed step by step photo tutorial for you.
This is the romantic lovely moodboard for this month's challenge. We have some great prizes on the offer.