
Hello all crafty souls,
Semonti on Splashy mix challenge.Today I'm here to share with you my this month inspirational post. Our theme for this month is LOVE.
I have created a mixed media gift bag. Here is my finish project pics.


Our Sponsors prizes
International Challenge winner
(As voted by our DT)
30$ USD value prize from CREATIVE EMBELLISHMENTS
National Challenge winner
(As voted by our DT)
Rs. 1000 value prize from DIE CUTS AND MORE
3 DT Favourite
(As voted by our DT in no particular order
One DT fevorite will receive goodie bag from LETZCRAFT STORE
1 Random Winner
One Random winner from Indian Participants will get a goodie bag from CREATIVE MINDS
We are looking forward to your submissions for the challenge.
Let's get started for step by step tutorial.
1. Took two 12''*12'' size papericious rose wedding pattern papers and cut both paper in 8''*8'' size.


2. Score both paper in three sides 1'' and one sides 1/2'' measurements. Fold and burnishing with bone folder all sides of the both papers. I cut and make a slit on one of the bottom one of the sides of both papers and making a flap and secure one paper it with tacky tape and other paper flap secure after complete mixed media work. Also apply tacky tape on 1/2'' sides of both papers and fold it very well.


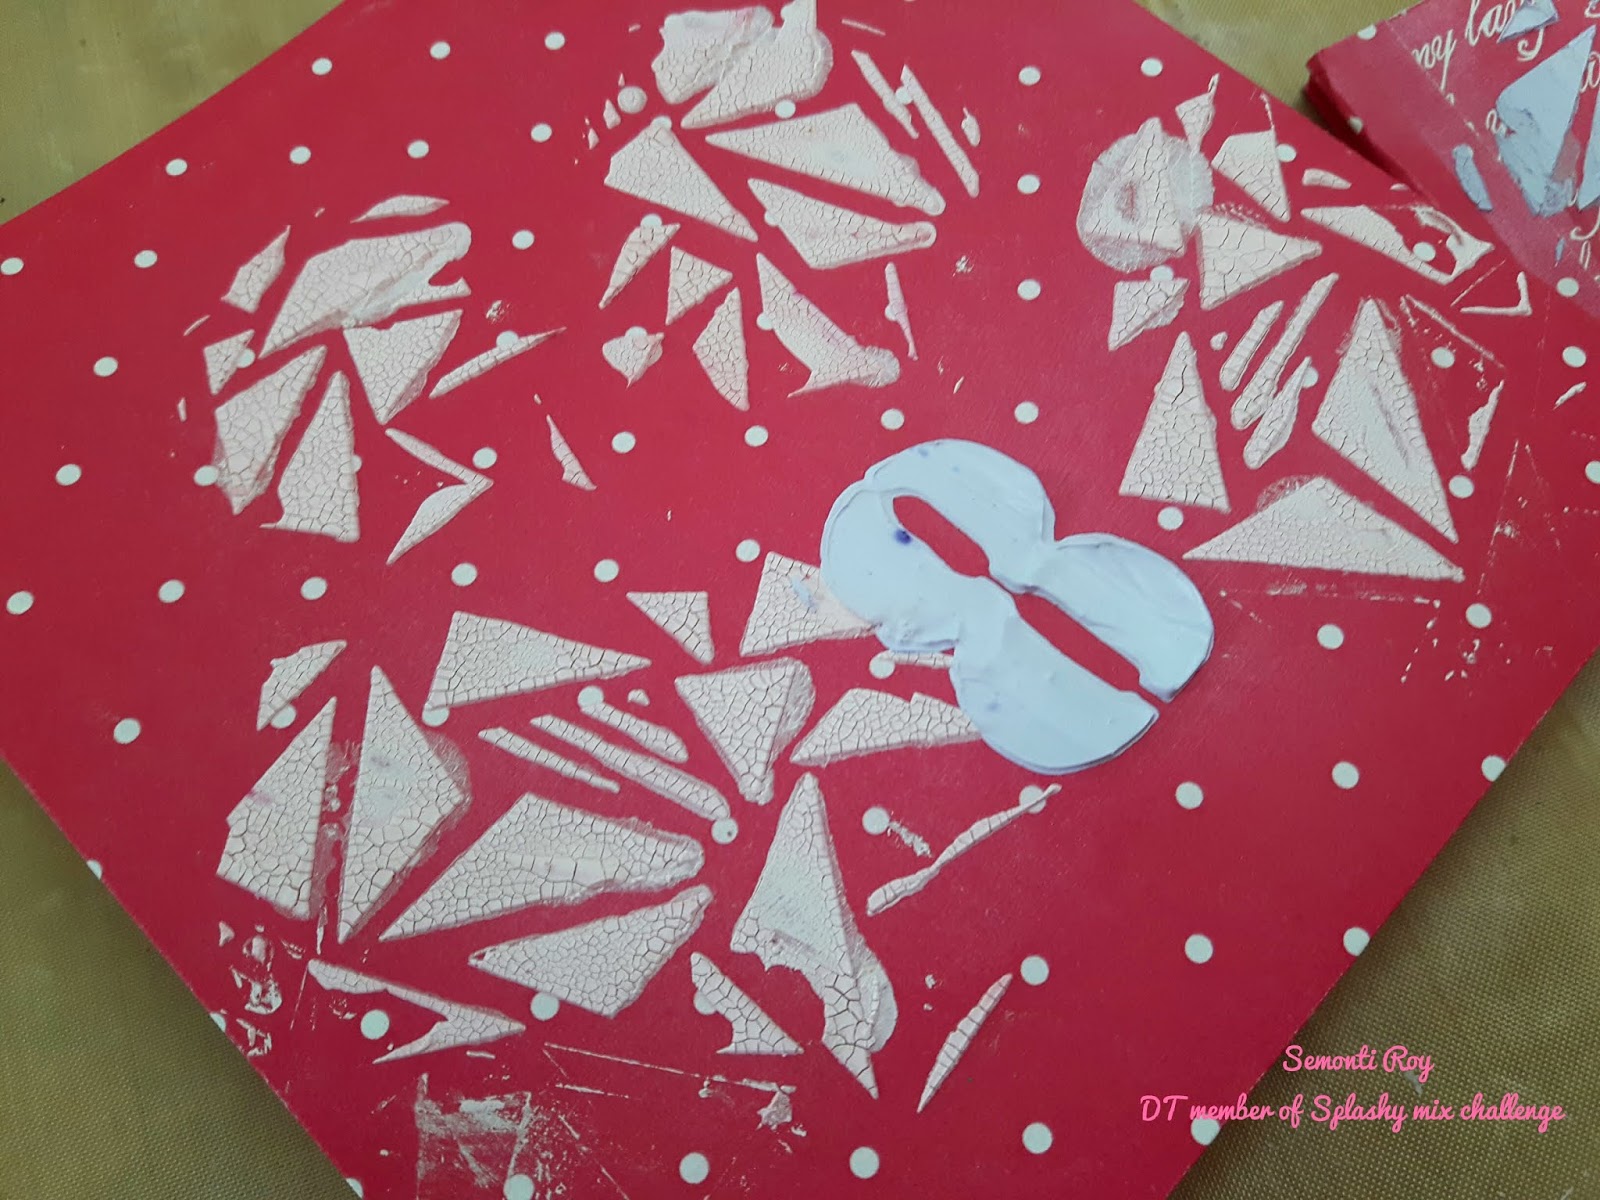
3. Now time for mixed media. Applied liquitex clear gesso on top of the paper and let it dry.

4. For adding texture I have used papericious white crackle paste mixed with lindy's magical shaker oom pah pah pink and lindy's spray pop rock purple with number stencil and mudra geometric stencil and let it dry.
5. Now I add a lace trim from my stash and spray on it with some lindy's spray raspberry lemonade, orange creamsicle and pop rock purple. Also spray orange creamsicle on paper little bit. Dry the lace trim amd adhere it with little birdie heavy gel medium.

6. Used archival black ink to stamp the little birdie background stamp and stampendous script stamp.

7. Now add some embellishments and a couple pic which is my focal point. Print a couple pic and stick it on dress my craft dots and stripes paper and distress the paper with tim holtz distress tool and inking the edge of the paper with vintage photo distress ink. Add a pink rose trim lace from madras bazaar. Used two rose buds from expressions craft and tie them with red pollen stick from dress my craft. Place love chippies from expressions craft on the side of the pic.

8. Finally add my sentiment and nuvo gilding flakes to bring a glam look.

9. Now stuck both side and bottom of the paper together with red tacky tape. Punch the two side of the bag with single hole punches and tie a pink ribbon from my stash for handle of the bag.

Hope you like it all.
Have a great day.

Very nice Semonti....
ReplyDeleteHugs
Rituparna
Thank you dear
DeleteStunning project. Great colour combo and texture.
ReplyDeleteThank you so much for your appreciation ☺
ReplyDelete